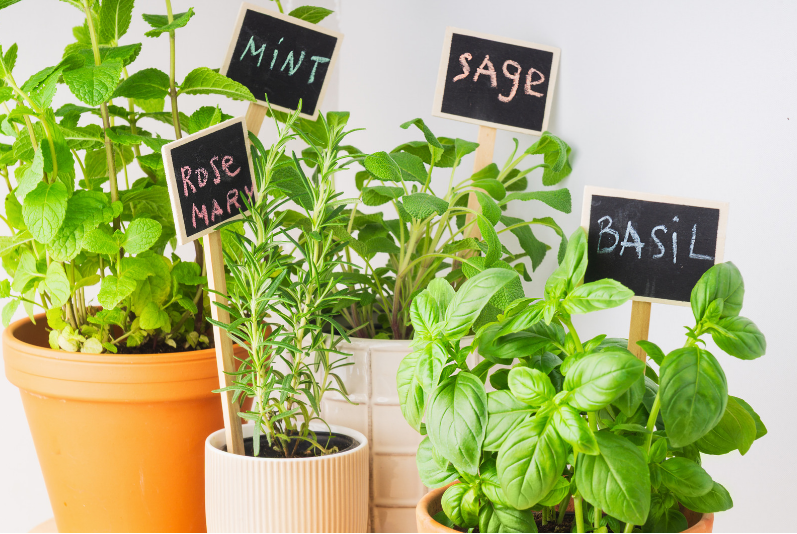
Summer is a celebration of fresh, vibrant produce—whether it’s handpicked from your backyard garden, found at a bustling farmers market, or gathered from a local farm stand. The strawberries are sweeter, the tomatoes juicier, and the zucchini more abundant than ever. But what happens when you have more than you can eat? Don’t let that summer bounty go to waste—preserve it!
With a little time and the right tools, you can bottle up the flavor of the season and enjoy it long after summer fades. Even better? Preserving food at home saves money, reduces food waste, and lets you skip unnecessary additives often found in store-bought versions.
Whether you’re a beginner or a seasoned home preserver, here’s your go-to guide to the four most popular and practical preservation methods: canning, freezing, drying, and pickling.
1. Canning: Lock in the Flavor
Canning is the ultimate way to preserve fruits, vegetables, sauces, and even soups for the long haul—think up to a year or more! There are two main methods:
Hot Water Bath Canning: Best for high-acid foods like tomatoes, berries, jams, jellies, pickles, and relishes.
Pressure Canning: Necessary for low-acid foods like green beans, corn, and meats. This method reaches higher temperatures to safely kill bacteria.
Pro Tip: Use canning salt—not table salt—to avoid cloudiness and soggy veggies.
Supplies You’ll Need:
Canning jars, lids, and rings
Large pot or pressure canner
Jar rack & lifter
Thermometer
Recipe
Quick Steps for Hot Water Bath Canning:
Prepare and sterilize jars.
Fill jars with hot food and secure lids.
Boil jars in water (1 inch above lids) for the recommended time.
Remove, cool, and check seals. Store in a cool, dark place.
2. Freezing: Fast and Flexible
Short on time? Freezing is the simplest way to preserve summer’s best, especially for fruits like berries, peaches, and bananas, or vegetables like broccoli and green beans.
Best for: Smoothies, sauces, soups, and baked goods.
Downside: Some texture loss (think mushy strawberries), and a shorter shelf life than canning.
Supplies You’ll Need:
Baking sheets
Freezer-safe bags or containers
Permanent marker for labels
Quick Steps:
Wash and dry produce. Cut if desired.
(Optional) Blanch vegetables to maintain texture.
Freeze in a single layer on baking sheets.
Transfer to labeled containers once solid.
3. Drying: Snackable and Shelf-Stable
Dehydrating is a fun way to make healthy snacks like apple chips, banana slices, dried herbs, or even fruit leathers. Without moisture, food stays safe from mold and bacteria and lasts up to a year!
Best for: Camping snacks, salad toppers, trail mix, and DIY tea blends.
Supplies You’ll Need:
Dehydrator or low-temp oven
Airtight containers
Slicing tools
Quick Steps:
Wash, slice, and prep foods.
Arrange in a single layer in a dehydrator or oven (set to 125–150°F).
Dry until crispy or leathery.
Cool, store in airtight containers, and label.
4. Pickling: Add Tangy Twists
Love a salty-sour crunch? Pickling is a flavor-packed way to preserve cucumbers, onions, beets, cabbage, and even fruit! It’s also one of the oldest (and most fun) food preservation methods.
Pro Tip: Use pickling or canning salt, never table salt, for best results.
Supplies You’ll Need:
Vinegar (5% acidity)
Canning or pickling salt
Spices and herbs
Jars, lids, and a large pot
Quick Steps:
Brine veggies in salt water for a few hours or overnight.
Prepare your vinegar-based pickling solution.
Pack sterilized jars with veggies, pour in the brine, and seal.
Process in a hot water bath or refrigerate for quick pickles.
Make the Most of Your Harvest
Preserving fresh produce is more than a way to extend your food’s shelf life—it’s a creative, satisfying, and sustainable kitchen skill. Whether you’re into small-batch jam-making or stocking a pantry full of pressure-canned veggies, the possibilities are endless.
So grab some jars, clear freezer space, or dust off that dehydrator, and get ready to enjoy the taste of summer all year long.


.png)


